Last Updated on July 11, 2021 by XDA Team
Smartphone Flash Tool is a program that is available for both Windows and Linux. It is used for flashing Rom Stock, custom recovery and for some situations that have complicated repair firmware update, flash recovery, reset Android devices, etc. There Several versions of Flash Tool that we will share. But this tool is designed to work with Android devices that have MediaTek processors. Let’s learn how to use SP Flash Tool.

For those who have not understood the paragraph above, Flash Tool helps us to delete, read or write any of the partitions of our device with Android. To follow this guide, you need several things. First of all, you have to have the USB VCOM MediaTek Driver.
How to use SP Flash Tool step by step
Flash Tool has several uses, although one of the most outstanding is that of the “Download” section, which allows us to install partitions on our Android device.
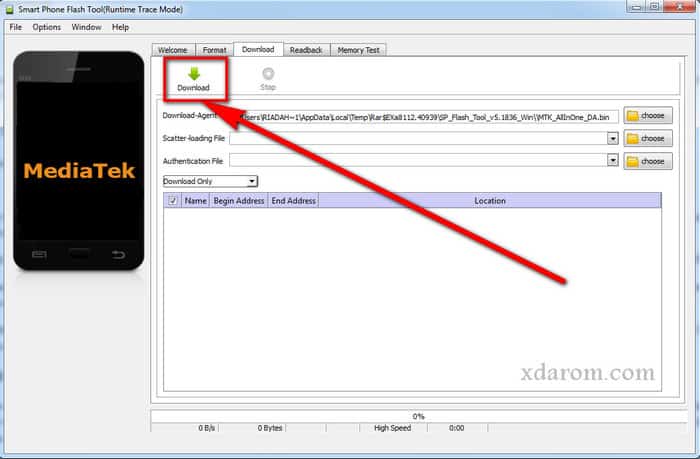
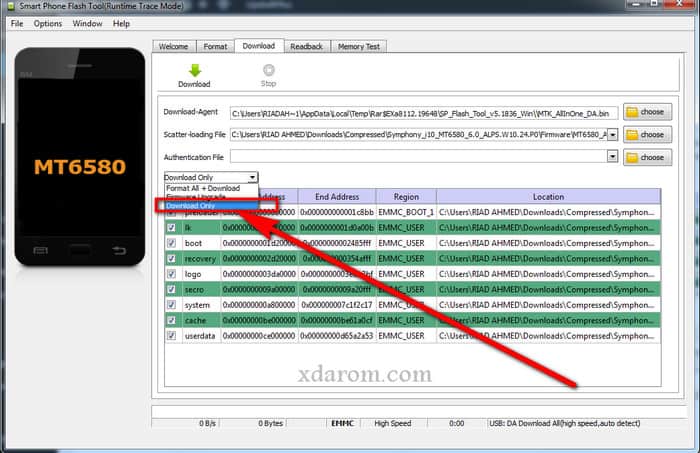
The download tab is the one that allows us to install the partition that we want from our MediaTek device. Here we have the SP Flash Tool program options. It is recommended that you enter in this section and activate the Download option. You must check all the boxes.

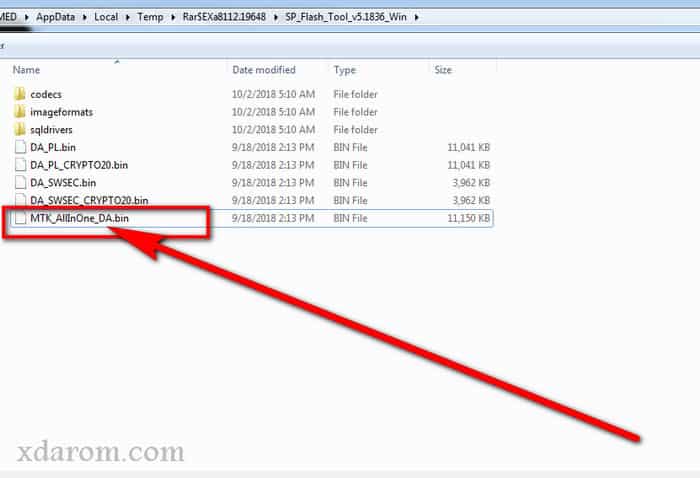
This is the download agent, the most common is to use MTK_All_In_One_DA.bin. It may not be configured by default, but do not worry. You can search it inside the Flash Tool folder.
In this section, we have to select SP Flash Tool Scatter File that has to correspond with the ROM of our device. This has to be inside the ROM pack. Here it is very important that select the correct option for what we want to do. In this case, it would be Download.
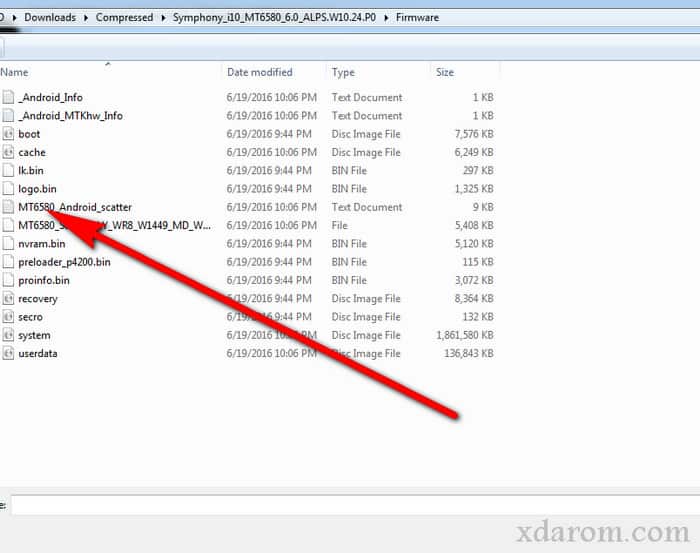
Here we see the partitions that are available in the ROM. It will depend on the SP Flash Tool Scatter File we have loaded. If we want to load the complete ROM, we will have to have everything marked. In case, you only want a Recovery, Kernel, etc. Only mark the partitions that we want to install.
Download USB VCOM driver
The reason you have to install this driver is that it is necessary for your device to be recognized by the computer. We will see two types of installation, the manual and the automatic. If you do it manually, you know that you will not have problems with security. The automatic does not usually give them either, but some cases have been reported in which if you have done. So, we leave it to your choice. You can try the automatic first if you want, and if something does not work correctly, go to the manual.
You Can Also Check: Here is the android 65xx preloader driver
Manual installation
To do this installation, you must first go to Windows Device Manager and in the top menu, under Action, click on Add inherited hardware.
You will see a window line which you have to follow the steps until you reach the part where you give us these two options.
You go forward until I give you the option to use the disk, select it and in search you look for the folder of the drivers that you have had to download above.
You have to select the one that corresponds with your version of Windows. Before going to next, the digital signature verification of Windows must be disabled.
You will see a warning message where you have to say that you want to install it anyway. The error that you will see in the following image will appear but do not pay attention, it is already installed successfully:
Flash tool errors
Any problem with the digital signature? It is possible that you had some kind of problem with the digital signature, we will solve it in that case:
SP Flash Tool Flashing Error Solution
Deactivate the digital signature in Windows XP and Windows 7
You have to go to Start and execute and you have to paste the following code:
bcdedit / set nointegritychecks ON
After that press enter.
When finished, you have to restart the computer and try again to install the driver. When it is already installed, you must activate the signature verification again, return to the same place as before and this time enter this other command:
bcdedit / set nointegritychecks OFF
When we have made sure that all the information that we have given to the program is correct, we can press this button and connect the device off and with the battery charged and the flash will start. We have detected that in some devices it is necessary to press the upper volume button or even both so that the flashing begins.
[su_button url=”https://xdarom.com/smartphone-sp-flash-tools-version-download/” background=”#5187ed” color=”#ffffff” size=”10″ icon=”icon: arrow-circle-o-down” text_shadow=”0px 0px 0px #000000″]SP Flash Tool All Version Download[/su_button]
Installation modes
Format all + Download: This is the option that involves more risks, it does not have to be used lightly, only in very specific cases where we know why we are doing it. What it does is a complete formatting of the entire device, and it removes all the content that is in all the partitions. When you delete everything, it also deletes the NVRAM partition, so all the IMEIs information is lost and it may be difficult to recover it later. The best thing if you have to choose this option is that you make a backup of the NVRAM partition.

Firmware Upgrade: This is the one that we have to select when we want to make a change of ROM. An example of this would be when we want to change the Android version.

Download Only: This is the most used and recommended in most cases, and serves to make updates that are the same type of ROM base system. This could be useful for example if we have a version of Android and we want to flash to it.
Final words,
In the guide, we described how to use the SP flash tool step by step. We leave the download link of the latest available versions. Keep it updated when new ones are coming out. Also, download SP Flash Tool APK version if your smartphone is MediaTek based. If you like this guide, don’t forget to share.
Related posts: