Last Updated on May 1, 2023 by XDA Team
Samsung is one of the most popular phones among all android lovers. However, it also has some limits. Users, of course, don’t like the limitation, and that’s why they use much software to flash. Odin is one of that software.

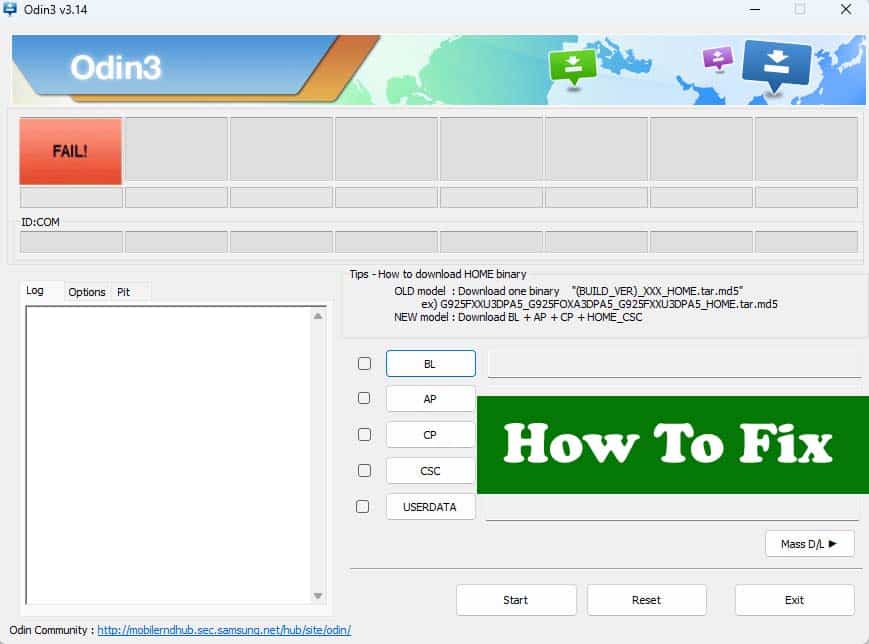
However, that also can’t be a smooth case all the time; it also sometimes runs into errors. That error can happen for various reasons. Today I want to discuss the top 5 issues and how to fix odin standard errors.
Here are 5 Odin Common Error Fix Guide Updated:
Error 1: Device not Recognized by Odin
One major problem that users face is when Odin does not recognize their devices. This prevents users from being able to continue with the rest of the flashing process. This will surely make you frustrated. Don’t lose hope because there are many ways to solve this issue.
The first step would be to ensure you have all the necessary files and setup correctly. Check that your cable is working. If not, then try a different USB port or remove the battery from the phone if it has one (for some devices, this will reset the connection). If these steps do not work, then insist of panicking, use an alternative program such as Heimdall (for Samsung) or Flashtool (for Sony). If none of these solutions work, consulting a device support forum for assistance or advice might be worthwhile.
Error 2: Stuck at Setup Connection
This is another frustrating issue with odin. But the good news is that you can fix this issue by downloading the latest version of Odin. Doing so will resolve incompatibility issues and allow you to flash ROMs without hiccups. I personally tried this method, and it worked like a charm – no more stuck at setup connection error messages!
All you need to do is make sure you download the correct version of Odin to not end up with an older version that could be even worse than before. Just take extra care while downloading, and voila! A smooth flashing process awaits you afterward.
Error 3: NAND Write Start Fail
This is another issue faced by users. Luckily there is a way to solve it. Start by visiting the Samsung developer’s website and downloading your computer’s latest version of Samsung USB Drivers. Once you have started the installation wizard, follow its instructions to install them on your device successfully. If it doesn’t work the first time, try restarting your PC and retrying; usually, this will eliminate any failed attempt errors you’re experiencing from Odin. It’s also a good idea to keep these drivers updated in order to ensure that your device will always be able to communicate properly with computers. With up-to-date drivers installed, you’ll never have to worry about “NAND Write Start FAIL” again.
Error 4: File Containing Corrupted Firmware
Corrupted firmware files are among the most common causes of errors in Odin installations. However, there are ways to avoid it. When flashing a device with an Odin Tool, it’s important to ensure that the firmware file used is clean and uncompromised. Failing to do this could lead to serious issues during the flashing process, including an error message that reads, “The operation failed.” This inability to install the intended firmware can be attributed directly to a corrupted firmware file, as Odin won’t be able to read it as intended.
Error 5: PIT Partition Not Found
The Odin “There is no PIT partition” error is an unfortunate issue that can cause frustration when it hinders flashing. The source of the problem often lies in a faulty USB connection, which restricts the transfer of information required for successful flashing. It’s a common issue faced by users who attempt to flash their firmware using Odin, and it can be fixed with a few simple steps.
First and foremost, you’ll need to download both the applicable PIT file and Samsung stock firmware for your device. Perform a Google search for the specific model number of your device in order to locate an appropriate PIT file that matches up to the stock firmware you’ve already downloaded.
Once you have all the necessary files in place, make sure you launch Odin with administrator privileges before commencing flashing — as any disruption during this process could prove disastrous in the worst-case scenarios. Taking this step will ensure optimal flashing performance and help avoid any chances of encountering errors like “No PIT partition” while flashing again down the road.
Download Samsung Odin’s Latest Version:
FAQ:
1. How do I get out of Odin mode?
There are several ways to get out of odin mode; however, the easiest way is by holding and pressing the volume and power buttons for 10 seconds. This will instantly take you out odin, leaving you with your regular Samsung phone.
2. Does Odin reset your phone?
My understanding is that Odin is only used to root and flash ROMs, not to reset the phone’s factory settings. By pressing Volume Up > Home > Power, you can access recovery mode on your phone.
Conclusion
Many tools can help you cross your boundaries, but they also come with some issues. After all, those are illegal software, and whatever is illegal isn’t safe. If you are able to resolve those issues and you can be on the same side. I hope after reading this, you will able to use odin safely.


